Problem with building firmware on VSCode

In your instruction , this section :

Building Leo firmware

First, you need to clone the leo_firmware repository. If you use the command line, type:

git clone https://github.com/LeoRover/leo_firmware.git

You can also use one of Git GUI clients instead of the command line.

If you don’t want to use Git, you can just download the firmware as a ZIP file and extract it somewhere. However, consider that by using Git, it may be easier to merge new changes from repository later on.

Now you need to open the project in Visual Studio Code. Start VS Code, click on File -> Open Folder or type Ctrl+Shift+P, type Open Folder and click enter. Select the leo_firmware folder.

To build it, just type Ctrl+Shift+B.

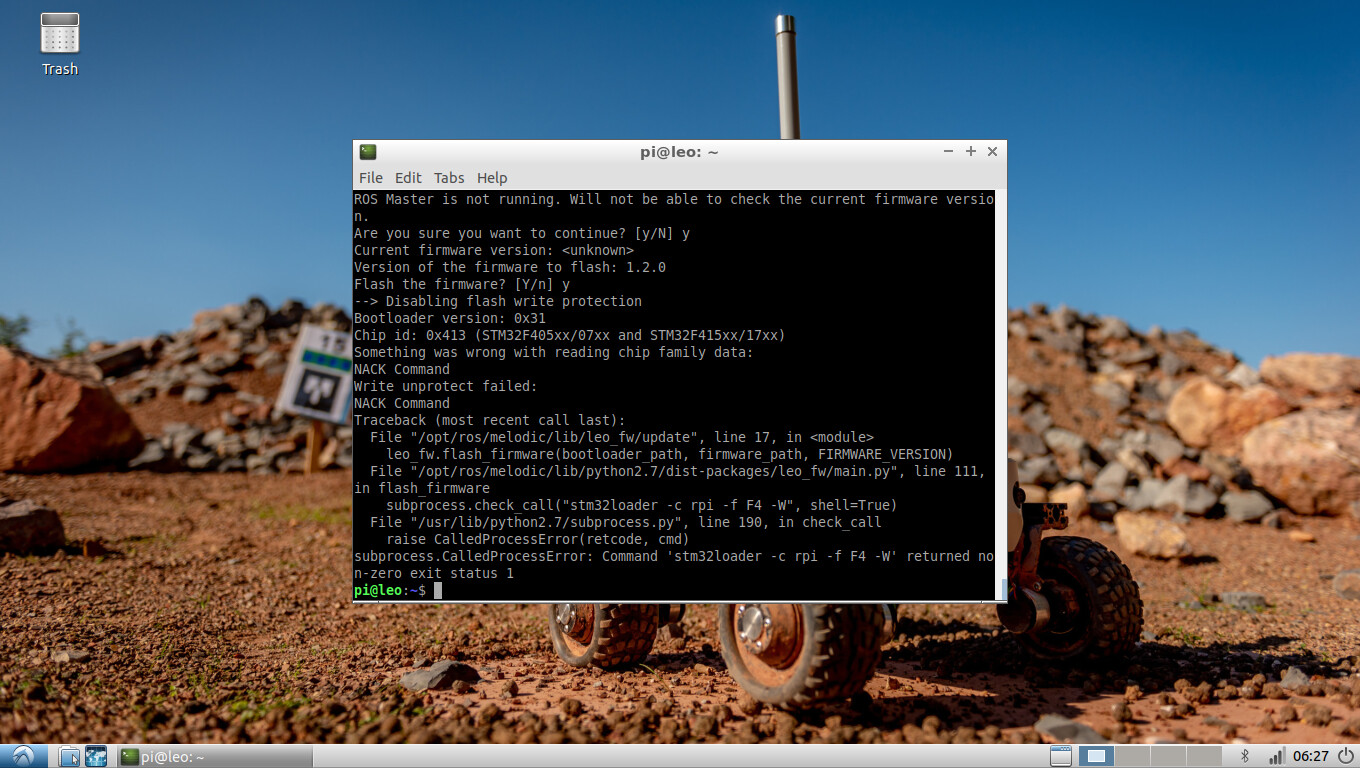
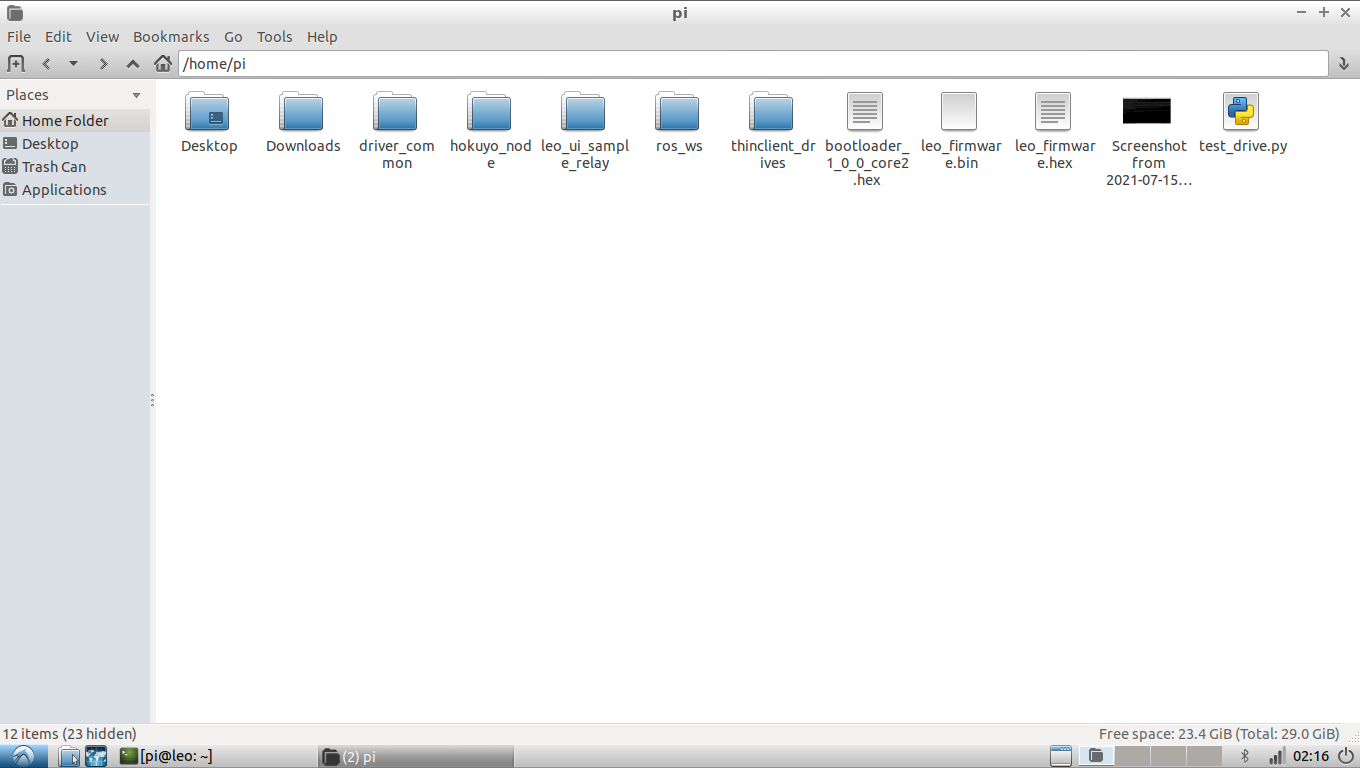
If the build was successful, leo_firmware.hex file should appear. If the build failed, a terminal should appear with the error message.

After follow your instruction , in Visual Studio Code, we see " Select the build task to run " . Please tell us which file need to build in folder LEO_FIRMWARE . We can not see leo_firmware.hex or error message .

You need to install the Husarion VSCode extension.

We already did it but no success.
But Husarion talked llike that :
unfortunately we are no longer supporting hFramework. I can suggest you trying Mbed which is our current supported platform for software development on CORE2.
For more instructions here is link with our tutorials:

Best regards,
Krzysztof Wojciechowski
Husarion sp. z o.o.

If we proceed above instruction , we can not install hFramework again so how to running LeoRover ?
Thank you

The Husarion team no longer supports hFramework but our firmware is written with this framework and we don’t have any plans to port it to Mbed for now, as it works for us.

I just tested building it on Linux and on Windows and didn’t have any problems.
Please try to follow these steps again:

  1. Make sure you have the Husarion extension and C/C++ extension enabled on your VSCode. Disable any other extensions that might be in conflict.
  2. Make the clean clone of the leo_firmware repository:
    git clone https://github.com/LeoRover/leo_firmware.git
    
  3. Click on File -> Open Folder and select the newly clone firmware code.

After this, you should see new files being created, in particular the .vscode directory with build tasks definition. Let me know if something actually happens.

Can I also ask why do you want to build the firmware manually? You can flash the newest binary by typing on the rover:

rosrun leo_fw update

Uploading: Screenshot from 2021-06-14 05-39-34.png…Uploading: Screenshot from 2021-06-14 05-34-58.png…
Uploading: Screenshot from 2021-06-14 05-24-56.png…

Hi, Mr. Blazej Sowa,
Please take a look my procedure as above screenshot.
The reason why I build the firmware manually because I faced many problem in the past .
At this moment , I get trouble only with Husarion Core -2 board. All another troubles resolved .I jsut want to see motor run ,it’s successful.
Thank you
Best regards

Do you have the CORE2 board connected to Raspberry Pi via GPIO pins and powered on? Do you see any LEDs lit on the board?

Yes, CORE 2 Board still connect to Raspberry PI 4 via GPIO pins as normal .
We see LED lit on board . We have experience on it because this is Husarion second Board.First Board have problem and replaced new one.
Husarion still help us resolve this problem. It seems problem from hardware .
They said that they will find simple way for helping us.
Thank you

2 posts were split to a new topic: ROS communication with computer


We replaced new microSD card and re-install all of your instruction in Leo but still trouble as attached screenshot. . Do you think Husarion Core2 have problem ?
Could we replace another board ? For example : Roboteq motor controller mode SBL-2360T or Pixhawk 4, because they prepare software ready to plug-play .
Thank you

Could you share some photos of your RPi <-> Core2 connection?


IMG_2128
We attached 02 photos of connection RPI and Core 2 .
First photo is LED in Core 2 ( at top) lit ( only yellow).
Second photo is LED in RPI (at bottom) ( Red and Green lit)


And this is my LeoRover robot finished but not running in long time ago until now.
Are you sure it is operate well after fix some mistake ? All parts are new , especially Hokuyo Lidar sensor .I hope you will support to me this robot.
Thank you for your team .

What Raspberry Pi model do you have? Please disconnect all motors from the board and try to flash it again.

I still used Raspberry Pi 4 from LeoRover supply (Mr.Szymon given) and I did not use any motors in this case because LeoRover was not running . It 's not from hardware but software .In previous time,I thought same you ,therfore I bought new raspberry Pi 3 for replacing and remake SD microcard boot with your newest LeoOS-0.2.2-2021-06-22-full.img, re-install again to Rover , repeat many times the procedure of LeoRover from 5-10 times but unfortunately , not succcesful .
Would you like instruct by remote through TEAM VIEWER online to our Rover ? I think by that way, you can understand what we did when see some files and find solution .
Thank you .

This looks more and more like a faulty core2 board, but I want you to try this before drawing any conclusions:

  1. Disconnect the motor cables from the board - just to make sure there isn’t any short circuit caused by faulty connection.
  2. Use a USB-microUSB cable to connect RPi to hSerial (microUSB) port on the core2 board - this might be hard to fit inside the box so you may eventually need to move the hardware outside the box.
  3. Access the rover’s terminal via SSH or remote desktop and do this:
    1. Download the firmware hex:
      wget https://github.com/LeoRover/leo_firmware/releases/download/v1.2.0/leo_firmware.hex
      
      You will need to have RPi connected to the Internet. Alternatively you can download it to your computer and upload to the rover.
    2. Try to use core2-flasher utility to flash it:
      core2-flasher leo_firmware.hex
      

Preferably use Raspberry Pi 4 from our supply.

I already tested this way but not successful. Core 2 Board no action ,only LED yellow lit .
The under message from HUSARION , he instruct to me another way for testing this board .
He said that if 03 LED’s on board lit means that Core 2 board running, unfortunately, same above case;

Hope it will work and will be a good

starting point for you for future developement.

GitHub - byq77/core2-pio-template: PlatformIO template for CORE2 board

It was tested in our office without SBC, but will work with one
connected as well. You have all steps needed to build and flash it in
readme.

Best regards,
Krzysztof Wojciechowski
Husarion sp. z o.o.

The final solution is that we have to buy new Husarion Core 2 Board from you with SD card pre-installed , ready to run and installed to our existing Leo Rover.
Thank you.

I would still appreciate it if you could follow these steps and show me what output do you get when running the core2-flasher script.

Ok, I will try with my best effort .
I don’t think Core 2 board problem because it’s new one. Please kindly wait me in few days.
Your help is highly appreciate .
Thank you .


Please have look screenshot .Step 1 : succesful . File leo_firmware.hex downloaded and placed in Rover

But step 2 failed . Display running continously without stop.